0086-379-64086155
As quality becomes a core consensus in global cooperation, CIC consistently safeguard the superior performance of every grinding mill through professional inspection processes.
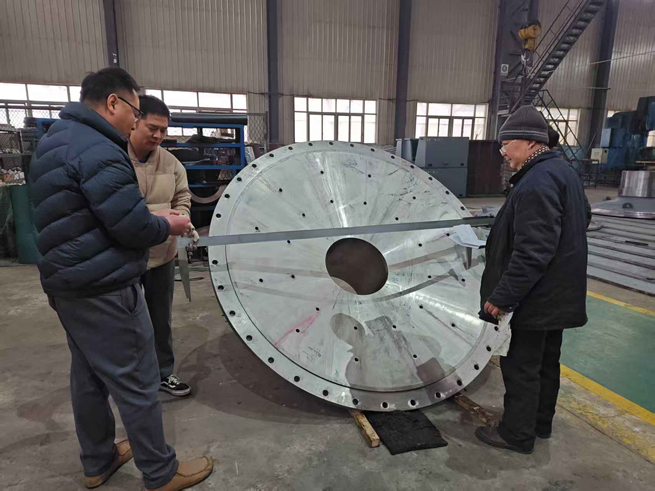
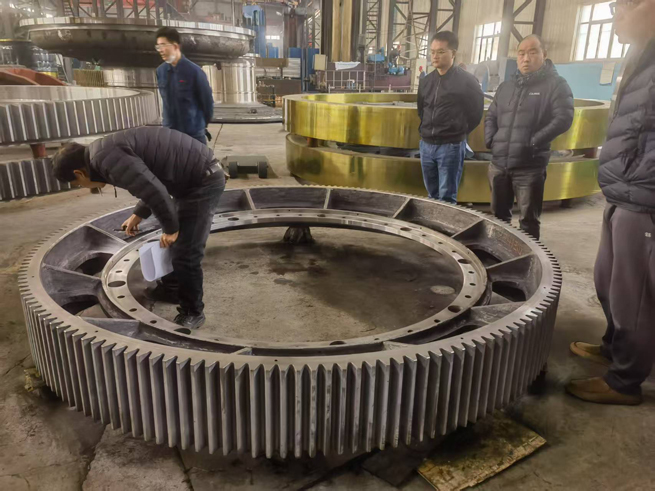
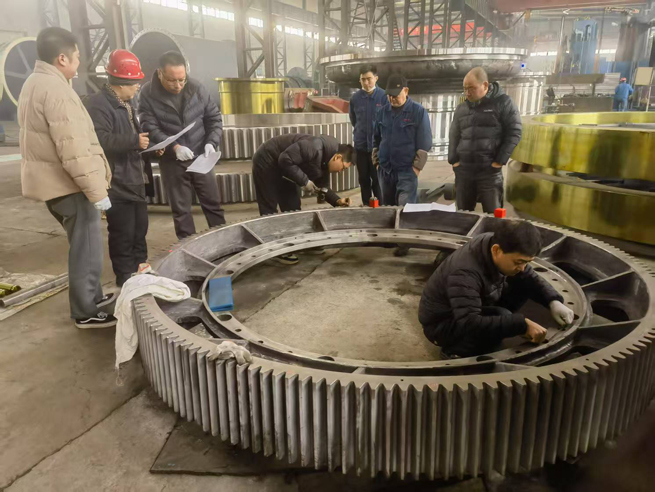
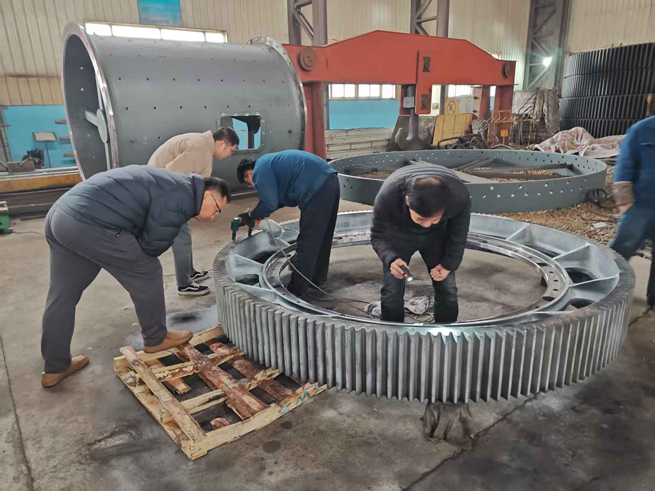
Recently, our Moroccan customer commissioned a reputable third-party agency to conduct a comprehensive on-site inspection of our ball mill. From meticulous attention to standard implementation, every step demonstrated our unwavering commitment to quality. The result, which fully met standards, instilled strong confidence in the partnership between the two parties.
The third-party agency conducted six key inspection items focused on the core performance and process requirements of the ball mill. Each test met high industry standards to ensure comprehensive product quality, from surface to internal components, from dimensions to performance.
1. Visual Inspection: Focusing on both rough-machined and finish-machined surfaces, we meticulously inspected for cracks, damage and other cosmetic defects. This rigorous, visible inspection safeguards the product's visual quality as the first line of defense.
2. Dimensional Inspection: All major dimensions of the girth gears and end covers are precisely measured in strict accordance with the supplier's drawings and Dimensional Inspection Report (DCR), ensuring that every dimension is in perfect alignment with design standards. This fundamentally guarantees product assembly accuracy and performance.
3. Surface Roughness Inspection: Utilizing specialized roughness testing instruments, the girth gears and end cover's surface smoothness and flatness are quantitatively inspected. This digitized standard ensures that surface quality meets operational requirements, minimizing wear and the risk of failure during subsequent use.
4. Hardness Testing: Utilizing specialized hardness testing instruments, girth gears are numerically inspected to ensure that hardness indicators fully comply with the drawing specifications, providing a solid foundation for the product's wear and impact resistance.
5. 100% Ultrasonic Flaw Testing (UT): Strictly adhering to the GB/T 7233.1-2009 Level 3 standard, the girth gear undergoes comprehensive ultrasonic flaw testing to thoroughly identify potential internal defects. This comprehensive inspection ensures the integrity and safety of the product's internal structure.
6. Magnetic Particle Testing (MT) and Penetrant Testing (PT):
Targeted testing tailored to different surface characteristics – Machined surfaces of girth gears are tested according to GB/T 9444-2019 Level 2, non-machined surfaces of girth gears follow GB/T 9444-2019 Level 3.; Penetrant testing of the R-surface of the end covers is performed according to GB/T 9443-2007 Level 3. This fully captures subtle surface and near-surface defects, eliminating any potential quality risks.
During the inspection process, a third-party organization rigorously reviews product quality documents and inspection reports, further verifying the reliability of product quality through a complete and standardized documentation system. The audit covers six core reports:
1. Chemical composition analysis and mechanical properties (MT) reports, clearly presenting the raw material material and mechanical properties to ensure that the base material meets standards.
2. Heat treatment reports, detailing the heat treatment process parameters and results to ensure stable mechanical properties.
3. Ultrasonic flaw detection (UT) and magnetic particle testing (MP) reports, demonstrating qualified internal and surface quality of the product through test data.
4. Dimensional inspection reports, demonstrating accurate dimensional data aligned with design standards and production precision.
5. Hardness inspection reports, verifying product damage resistance through hardness test results.
6. Surface roughness inspection reports, ensuring surface quality meets standards through quantitative data.
Thanks to our rigorous control of production processes, precise implementation of inspection standards, and efficient collaboration across all team members, our ball mill successfully passed the third-party on-site inspection. This is not only an authoritative endorsement of our product quality, but also a strong endorsement of our partnership. At present, we have started the subsequent packaging and delivery work, and will complete product delivery in strict accordance with customer requirements, and continue to create value for global customers with high-quality products and efficient services.


