
Search
0086-379-64086155
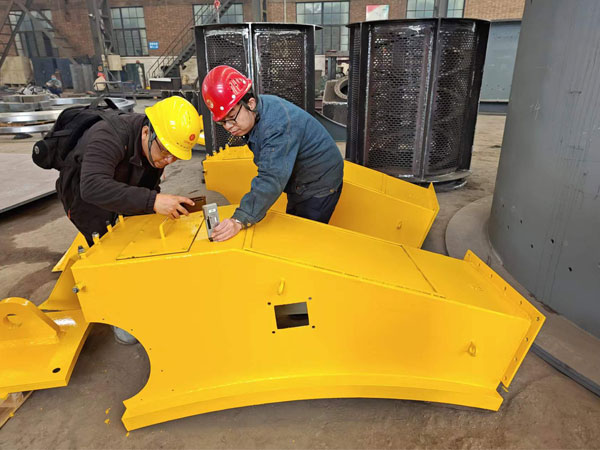
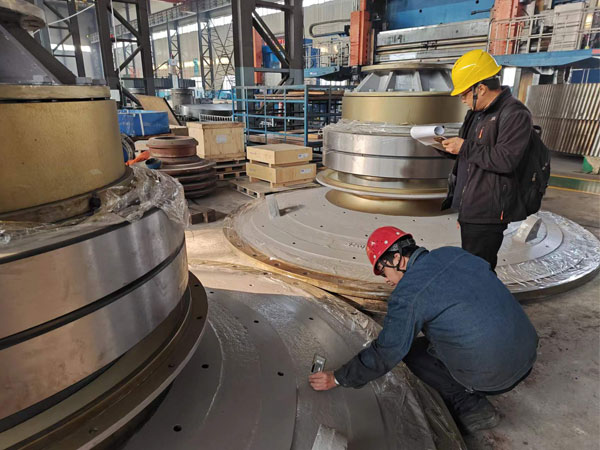
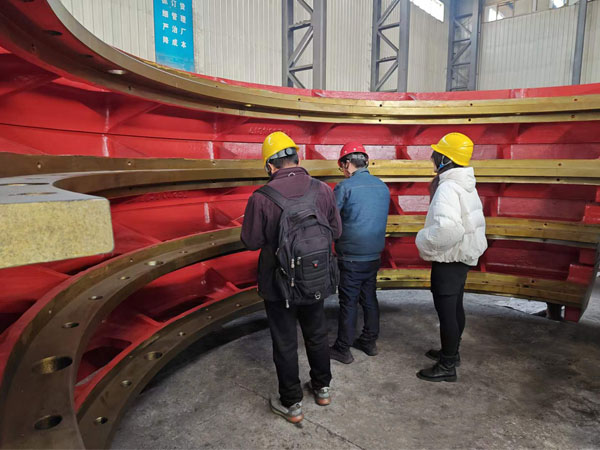
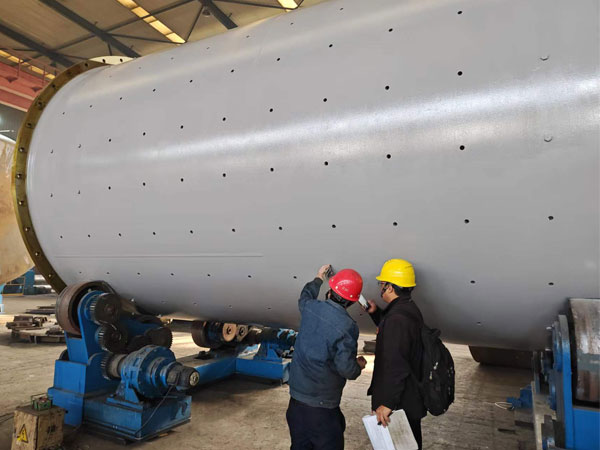
Recently, SGS inspectors conducted on-site coating inspections ofφ3.6×6m ball mills and their spare parts exported to the Middle East. This is the state after finishing the machining, rust prevention and painting processes. We conduct strict self-inspections on the ball mills and spare parts and meet the drawing requirements.
According to the product quality inspection plan and coating process approved by the customer, coating inspection includes appearance inspection and thickness inspection. The products inspected mainly include shells, end covers, girth gears, pinion assembly, bearing housings, gear covers, trommel screens, etc. After inspection, the coating requirements are qualified. The mill and spare parts will undergo packaging process.
The following are the quality inspection methods for coating:
1. Appearance inspection refers to visually observing whether there are coating defects on the surface, such as bubbles, cracks, and color differences, so that the quality of the coating can be quickly judged.
2. Thickness inspection refers to testing the coating thickness of the product through a paint film thickness meter, and providing numerical values and diagrams of the measurement results to judge the quality of the coating.
Quality inspection after painting is very important to ensure product appearance and service life. We will strictly implement the coating process and drawing requirements, and improve the stability of coating quality through reasonable inspection methods to meet customer requirements.
Contact Us
 English
  日本語
日本語  français
  Deutsch
  Español
  italiano
  русский
  português
  العربية
  română
  Nederland